That was me on Friday. As I carried plates of lunch out of the kitchen where I had been preparing it, into the dining room where the kids eat.
Those little faces looked guilty as they huddled around my piano. Their eyes a little too bright as they tried to tell me nothing was going on. Then I saw it. One of the children had unscrewed one of the knobs used to lift the cover over the keys. Inside the knob, of course, was a screw. And on the sides of my piano there were scratches. So many scratches. Too many to have come from one child with one screw. Closer inspection revealed that EACH child had grabbed something (a pen, the edge of a Batman figurines wings, a plastic fork) and they were all scratching my piano. Yup, all of them. They had done such a stellar job of scratching that there was a tiny layer of sawdust at their feet.
 |
| You can see some minor scratches on the front from here. Most damage was done on the sides. |
I was less than thrilled. MUCH less.
We had got our piano free last summer from someone who was moving and no longer had space for it. It was pretty beat up in its old age. I had known for a while that it needed a bit of a face lift, but I was not planning to tackle that project this past weekend. Then The Great Piano Scratch of 2014 happened and I had to boost my timeline.
I told That Guy I would paint it. He said "You want to do brown like it is now, or should we paint it black?" I said "Actually I was thinking green..." That Guy looked at me. His look did not communicate "You are sane and I think painting our piano green is a great idea". I ignored his look.
I went down to Home Depot and bought myself a gallon of green paint. This green colour was not selected at random. I brought a scrap from the fabric I used to make our drapes and colour matched the green in the drapes. I bought Glidden paint in flat.
I also bought Plaster of Paris and a tin of Minwax Paste Finishing Wax. Total cost was less than $40.
When I got home I mixed:
4 tbsp Plaster of Paris
2 tbsp water
I mixed them together well in a bowl with an old fork. I made sure all the lumps of POP were out.
Then I added that mixture to 2 Cups paint and again mixed well.
Next, I painted! Because I made a DIY version of chalk paint there was not need for me to stand or prep the piano before I started painting. Awesome time saver.
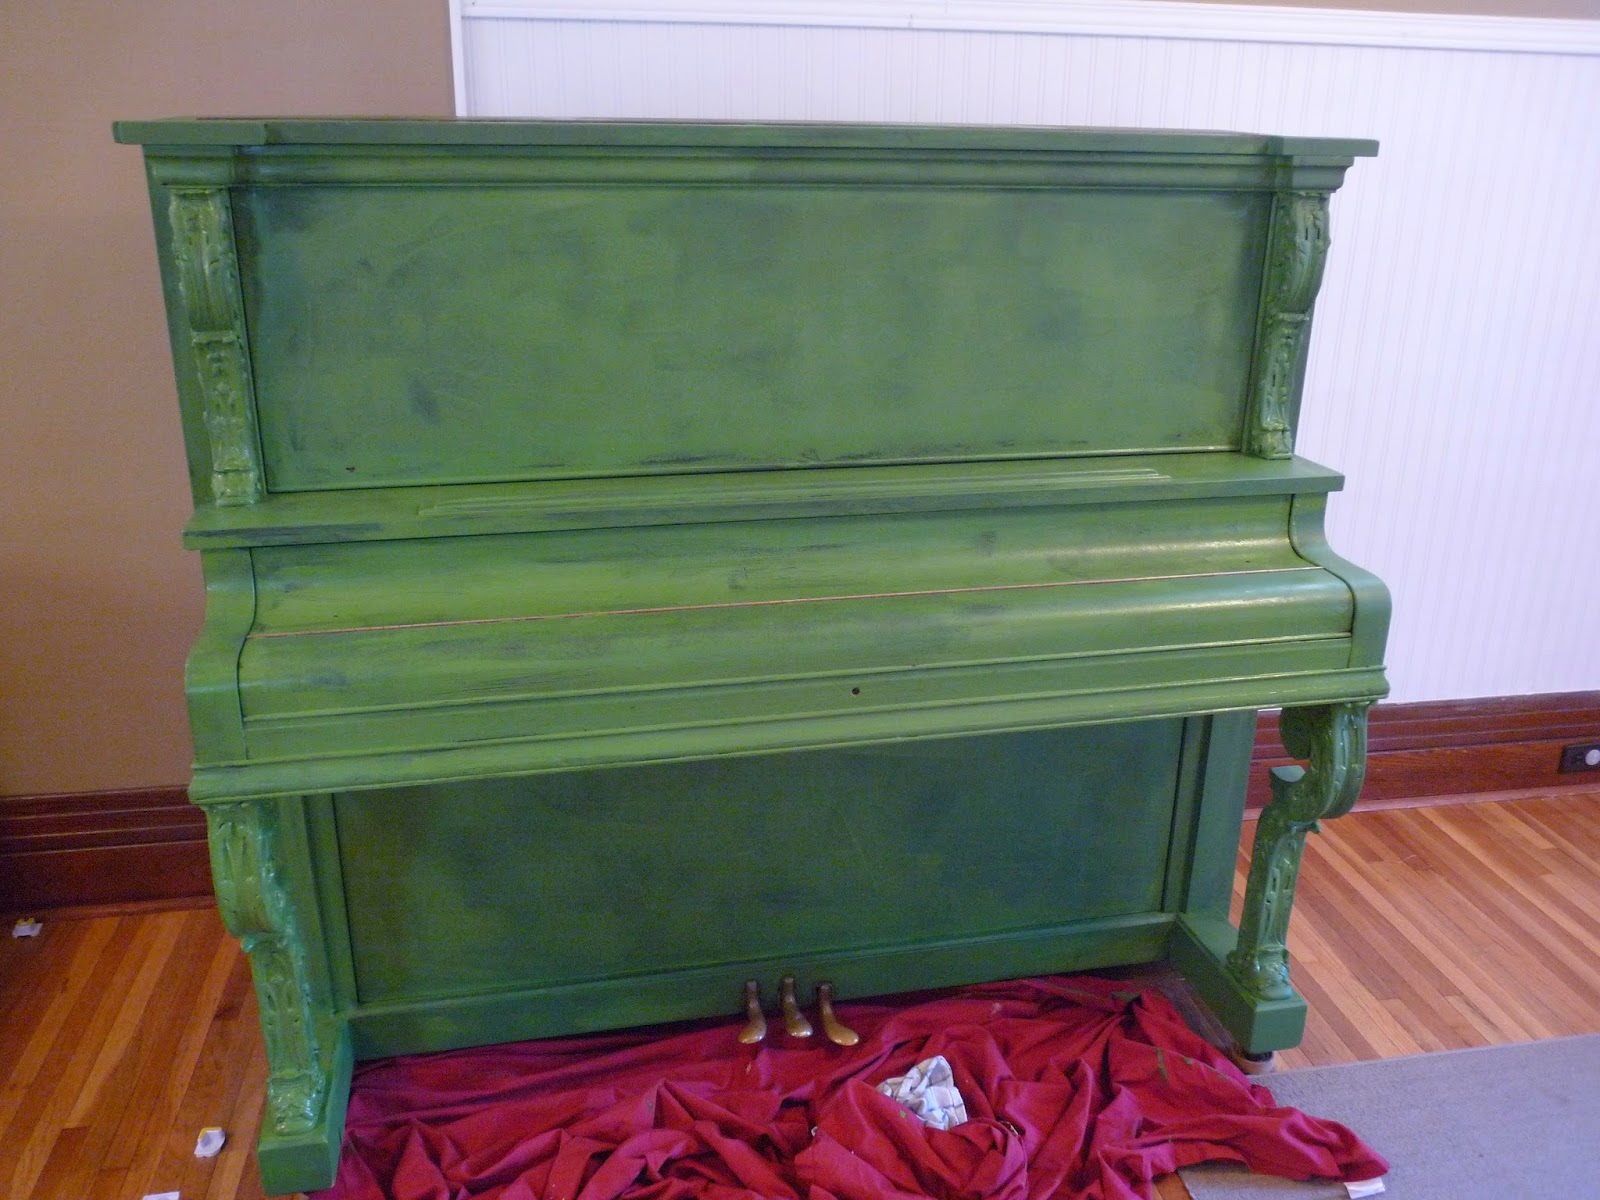 |
| Piano after first coat of chalk paint |
 |
| Happy, refreshed piano. |
 |
| Lightly sanded |
 |
| Finishing wax |
 |
| Wax on, wax off |
 |
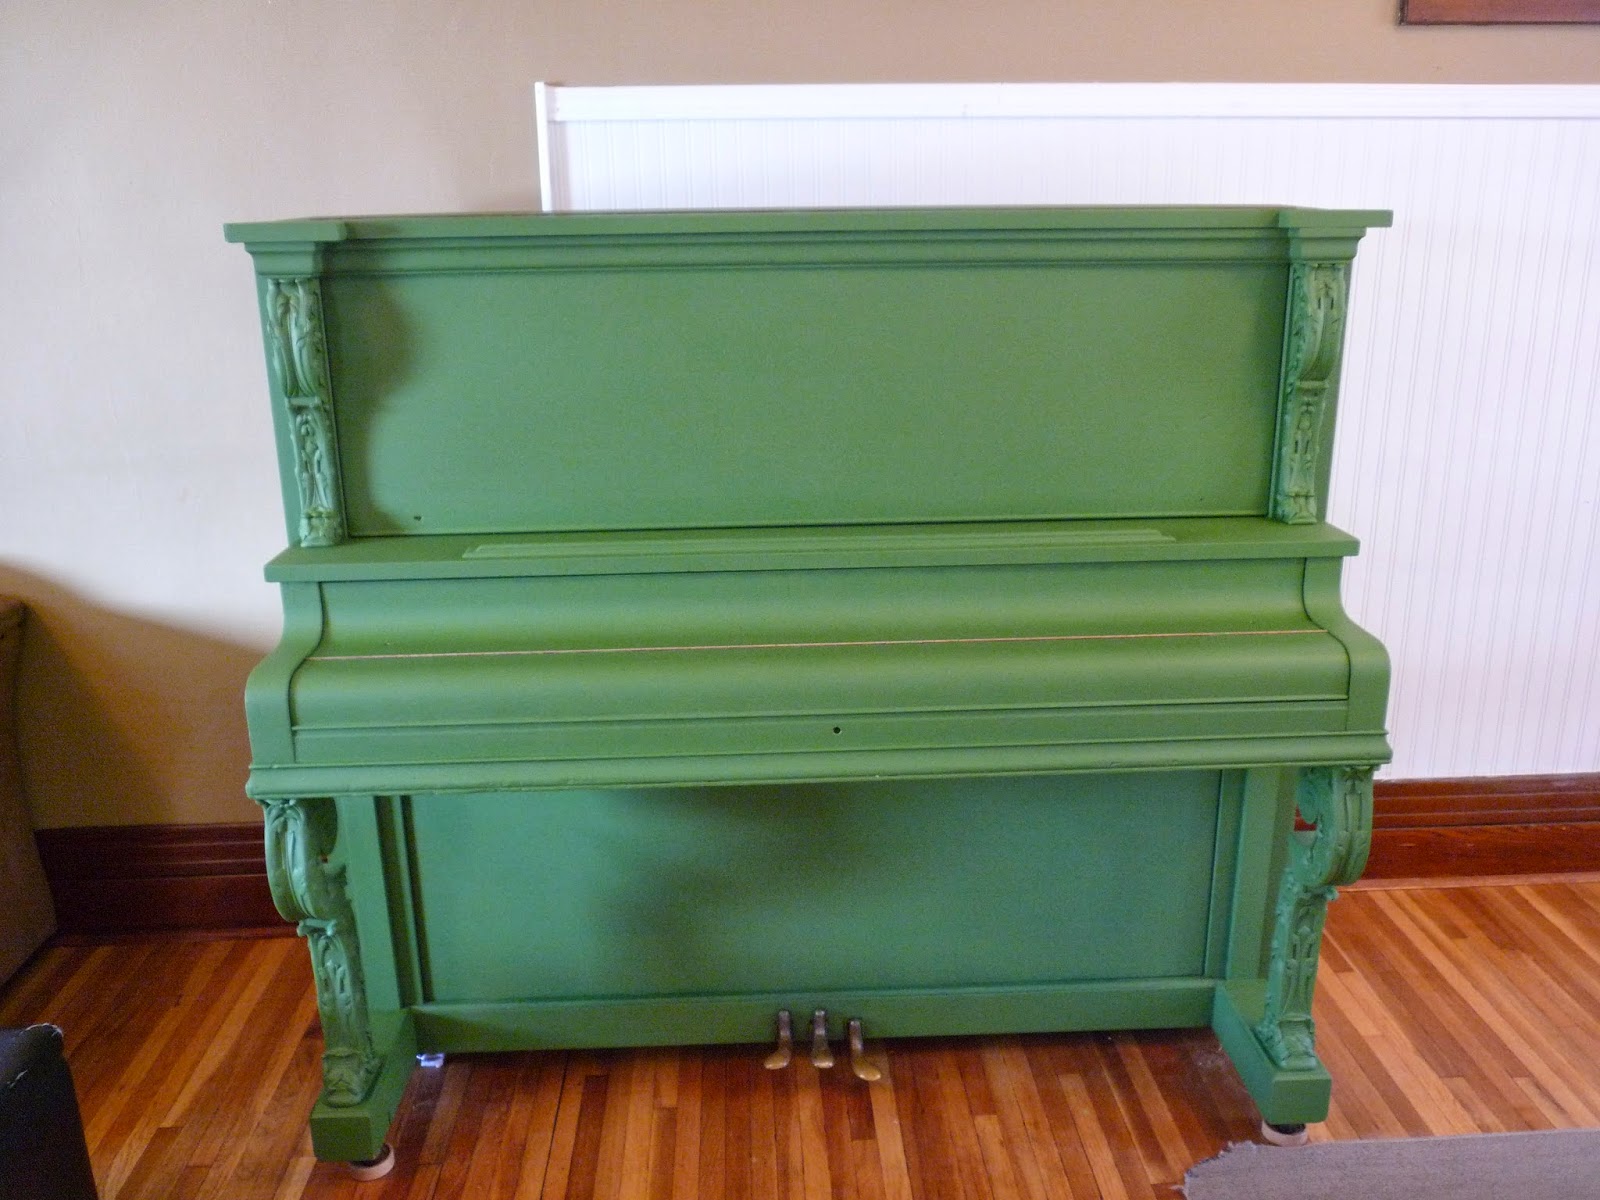
| Taa - daa!!! |
I wanted to let you know that I read your post and I painted my piano electric blue and it came out beautiful. Thanks for sharing-Roxanne
ReplyDelete