My seventh wedding anniversary was on Monday. That Guy and I have always done traditional gifts, so this year was copper.
One day while tidying up I can run across some costume dog tags that had been used one year as part of a Halloween costume. Something about them just stayed with me.. Then when I was trying to think of something copper to make for our anniversary those dog tags came back to mind.
I thought I could buy some copper dog tag blanks and metal stamp them. That Guy wouldn't wear them around his neck, but if I put them on a key ring it would be an adorable key chain. I use "adorable" with as much masculinity as is possible.
First, to get a metal stamp kit. I could buy one (hahahaha!!) or I could borrow one. So I phoned my aunt who has a very masculine and handy husband and asked if my uncle had a set of metal stamps. He did, but only the numbers. I figured I would need letters too. I posted to a social networking site asking friends if I could borrow a set. Nothing solid came back. But then my aunt called back. She said her neighbors boyfriend had a complete set I could borrow. Hooray!!
Then I did some thinking about what to stamp. I was really lacking for ideas so I went online and looked up the venue we had been married at. My search engine returned a bunch of hits, but I noticed one had the geographical co ordinates for our venue. That was it! That was perfect! I would metal stamp those co ordinates into the copper. I copied down the co ordinates and kept them safely tucked away.
I placed an order online for some copper key chain blanks. Yes, blanks- with an s. Since this was my first attempt ever in my life at metal stamping I knew I would mess up a few times first. I ordered five for a total cost, including tax and international shipping of $16.42. (VERY expensive for my taste, but what can I say, That Guy is worth it) Advice: sellers online do not post measurements of their items for the fun of it. Do not ignore the measurements thinking that it "looks" like it will be the right size..... because sometimes things show up and they are much, much smaller than you had anticipated.... just saying this *may* have happened to someone here....
 |
| So very, very tiny!!! |
Let me just say thank goodness I got five blanks!!! As it turns out metal stamping takes a bit for forethought and planning than I had expected.
After totally ruining my first two blanks I learned a valuable lesson. Use double sided puffy tape! This is something I have all the time in craft supplies but its very easy to find in the craft aisle of any dollar store. Take a length of double sided tape and adhere it to your work surface. Peel the backing from the side facing up and lightly push your blank onto the tape. The most important thing this does is keep that piece of metal from sliding around. Its hard enough to get letters straight without worrying about sliding.
The other thing the puffy double sided tape does is provide a small cushion when stamping. Using metal stamps involves a bit of hammering and I found there was a big difference in the clarity of number and letters when stamped on the cushioned tape instead of on my hard work surface.
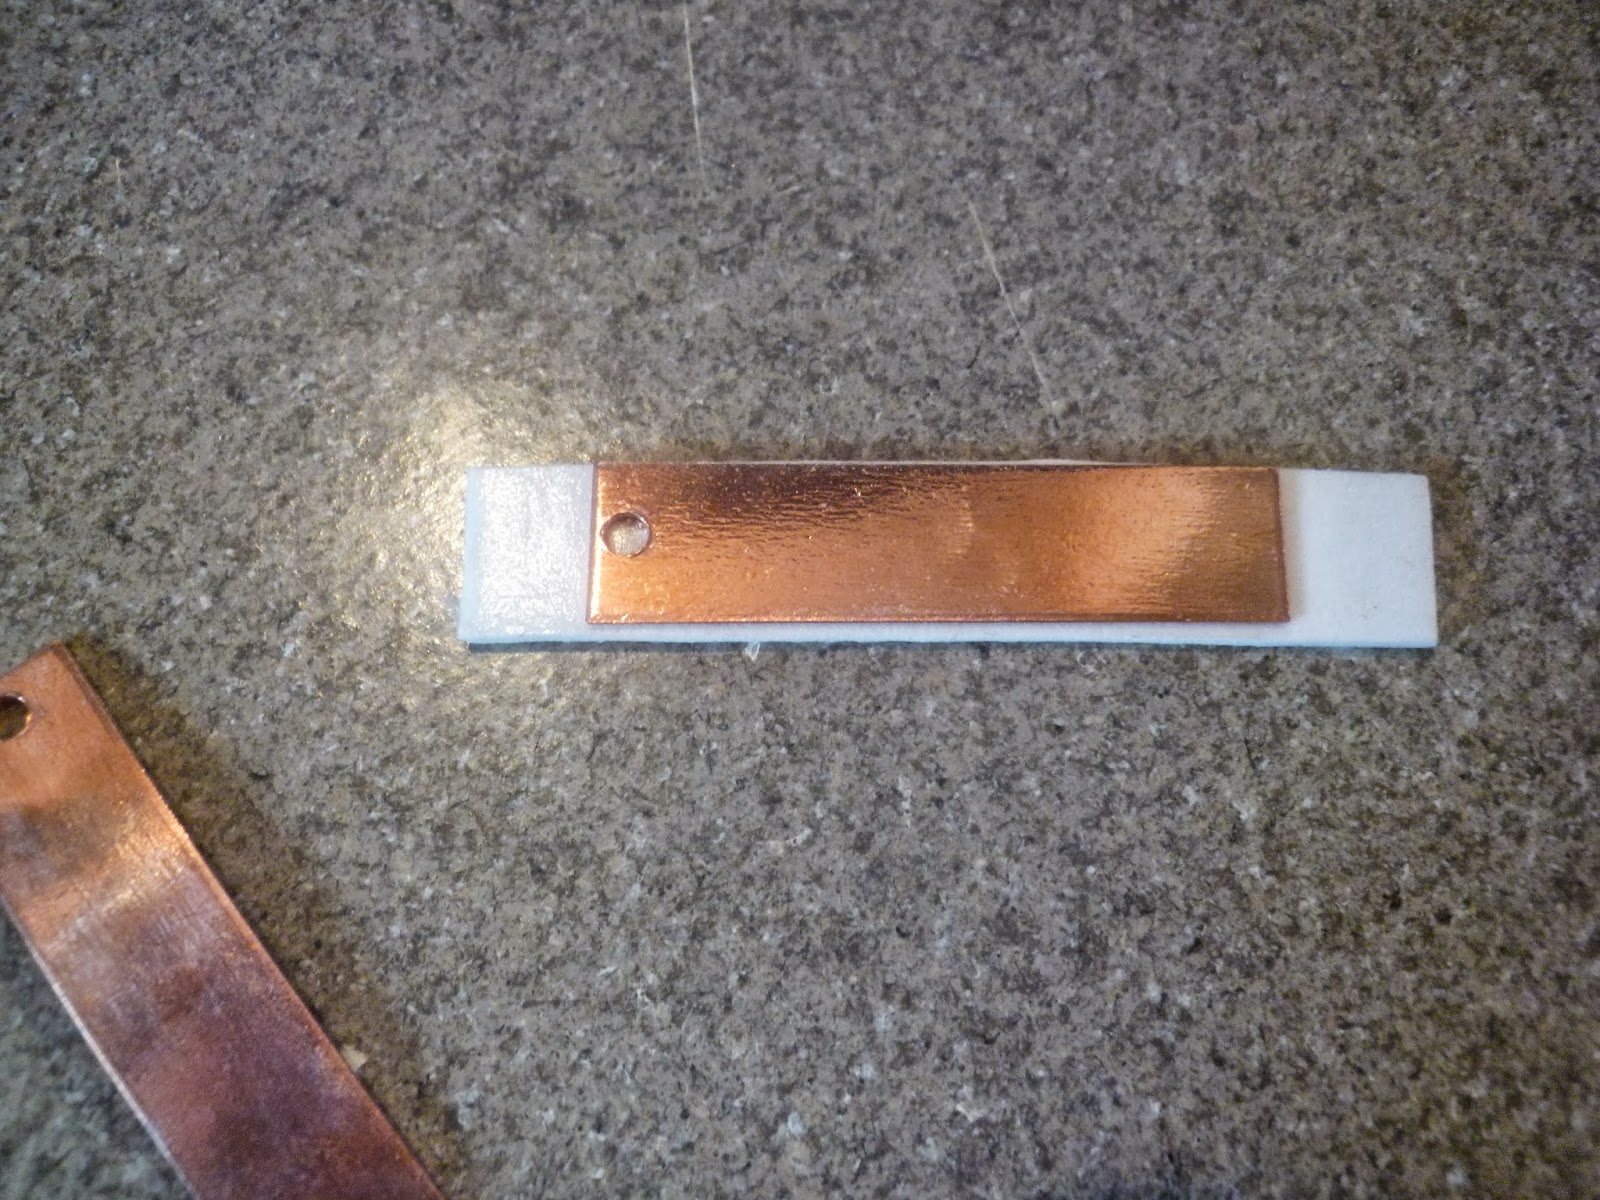 |
| Use double sided puffy tape! |
 |
| all stamped up |
I added a key ring (I took one from my own key chain since I didnt have any on hand) and Volia!
 |
| Taa-daa! |
No comments:
Post a Comment